Start with the right file
Keep a copy of your original HTML. If the slide already looks wrong in the browser, fix that first. If the HTML looks right and only the PPTX changes, start with the font and output checks below.
Starting from an agent Skill? The frontend-slides guide explains how to prepare visible static slides. For an editorial or design workflow, use the Guizang handoff guide or the baoyu-design handoff guide before repairing the import. A working browser runtime does not by itself establish static PPTX compatibility.
This original two-slide file intentionally includes an oversized title and a font exercise. In the editor, click Upload and choose the downloaded HTML. Uploading replaces the current deck, so export any work you want to keep first.
Exercise 01 · In the editor
Fix a title that is cut off
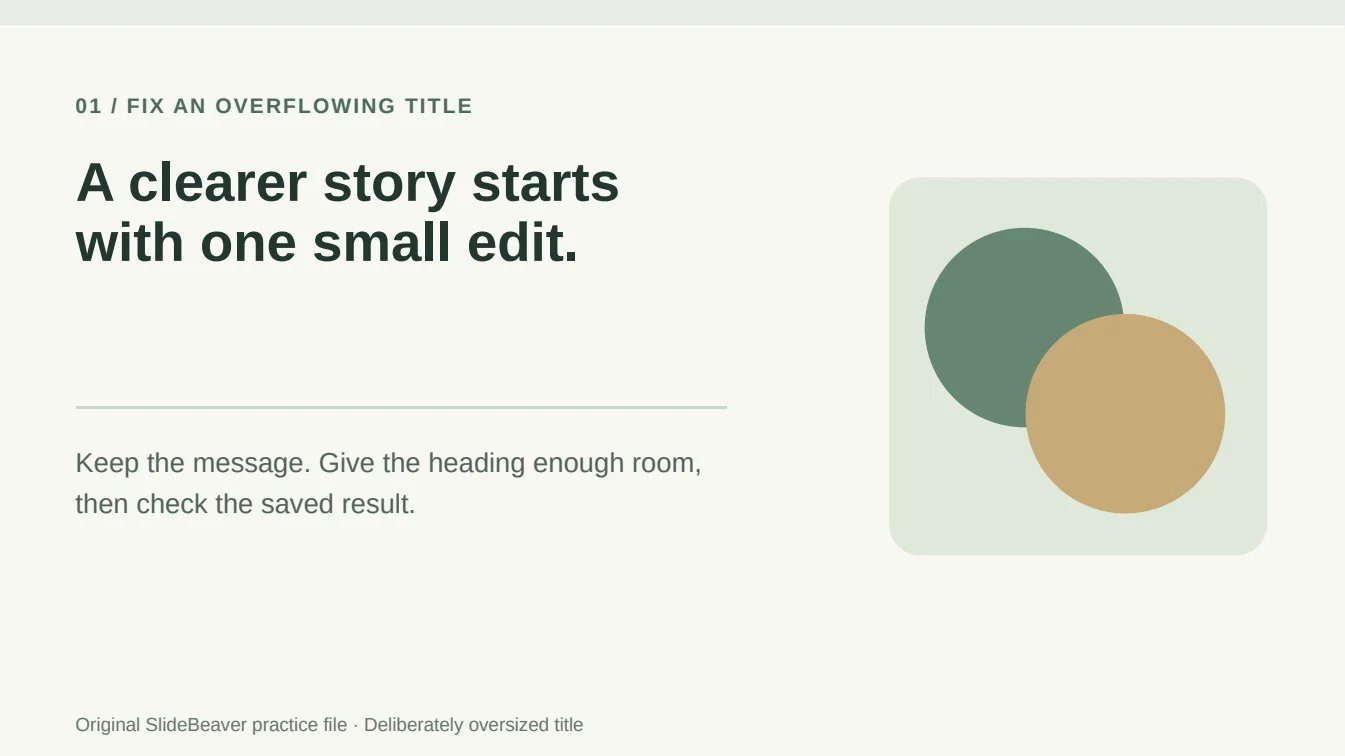
On slide 1, the title is too large for its container. The words are still present, but the last line is hidden. This problem exists in the source HTML before any PowerPoint conversion.
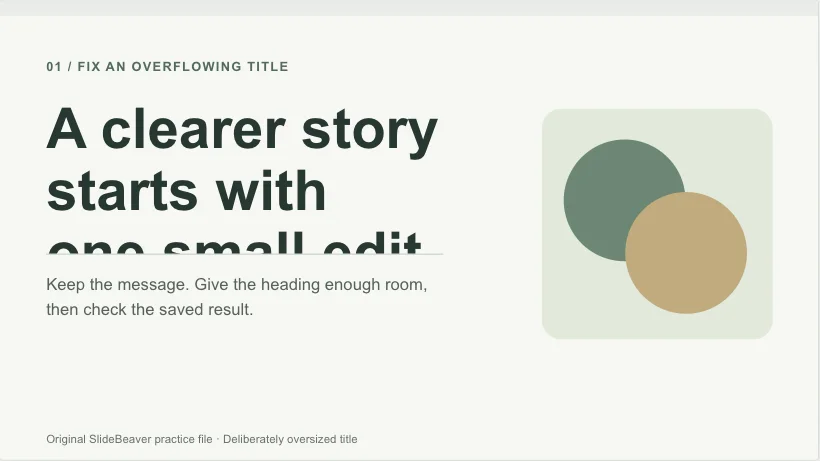
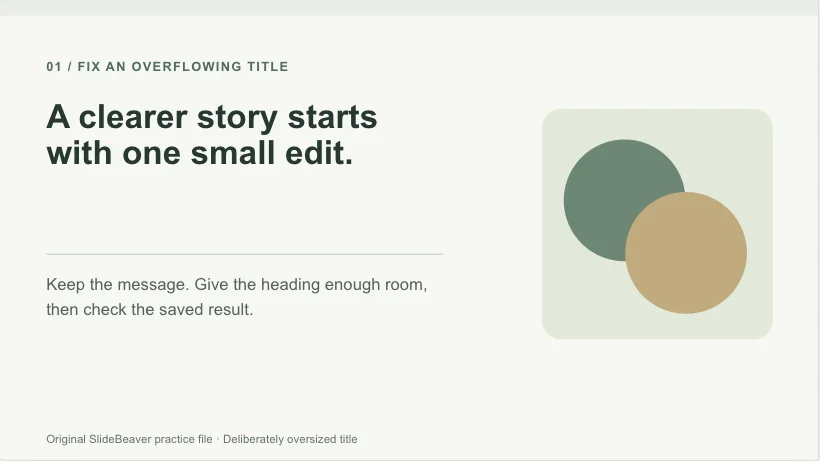
- Select the first slide in the left thumbnail rail.
- Click the heading “A clearer story starts with one small edit.” The right-hand Properties → Text panel opens.
- Change Size (px) from 88 to 52. In your own deck, choose a size that stays readable and fits the available space.
- Check the whole title and the paragraph beneath it. You can also shorten the wording by editing the text on the canvas.
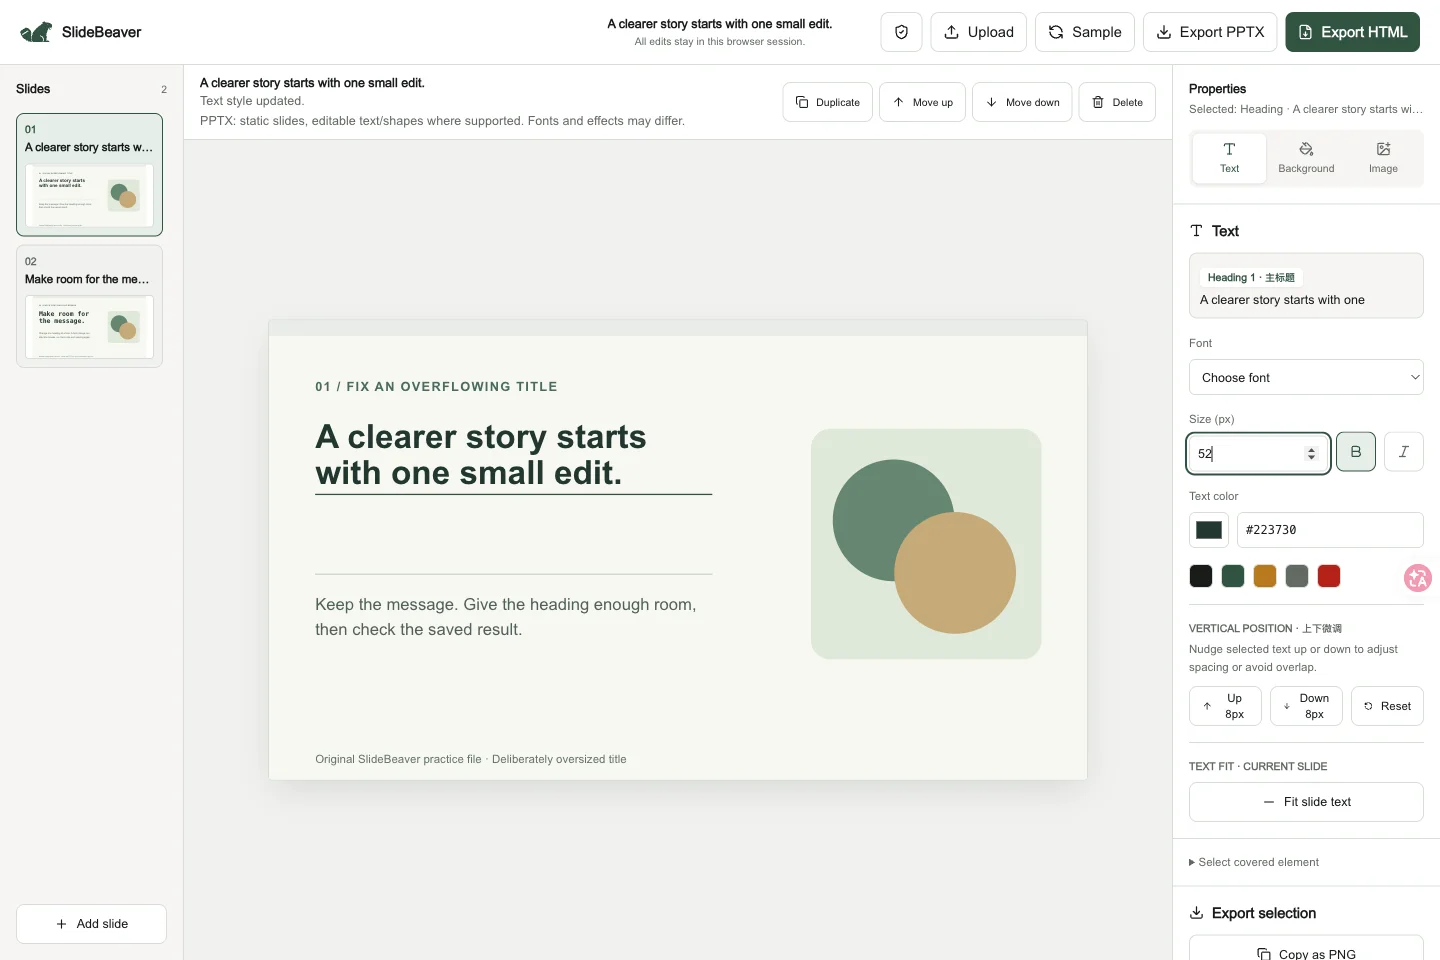
One heading or the whole slide? Size (px) changes the selected text. Fit slide text reduces text sizes across the current slide; inspect other text afterward. It does not enlarge fixed containers or repair every CSS layout. If readable text still cannot fit, change the source layout.
Exercise 02 · Then check your presentation app
Check fonts and line breaks
A different font can change how much space a line needs. Slide 2 lets you see that in the browser. It is a typography exercise, not a guarantee that every presentation app uses the same fonts.
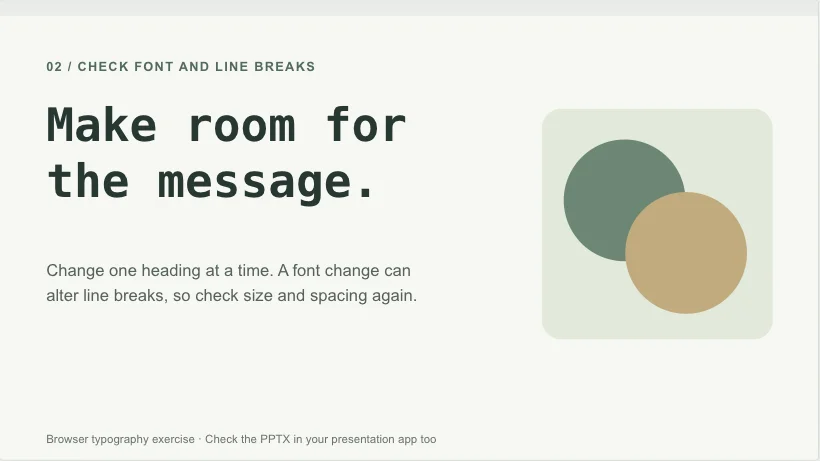
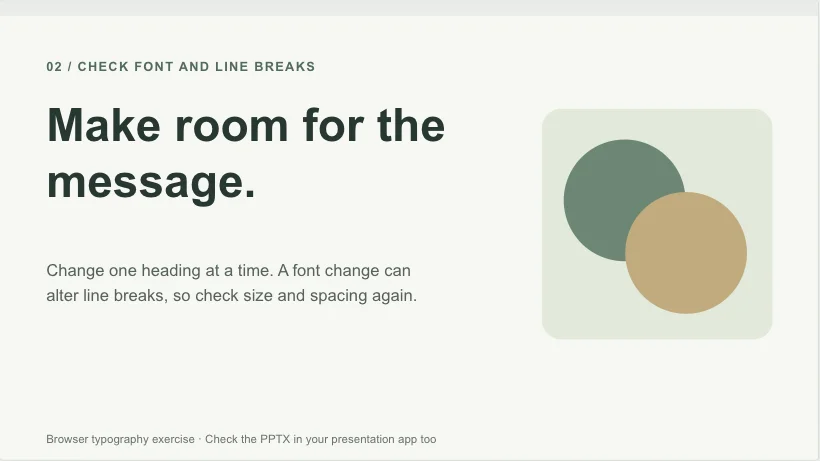
- Select slide 2 and click “Make room for the message.”
- In Properties → Text → Font, choose Sans serif. Keep the size at 72px for this comparison.
- Check the heading against nearby text and graphics. Adjust the selected font size if needed, then export PPTX.
- Open the PPTX in the app and on the computer you will use to present. Check the font, line breaks, and text boxes there too.
If only the PPTX differs: the export does not embed fonts, and destination fonts or substitutions can change wrapping. Use a font available on the presentation computer, or adjust the text in that presentation app and inspect it again. Choosing Sans serif in this editor does not install a font on the recipient’s computer.
See which PowerPoint objects stay editableExercise 03 · Repair the source file
Restore a missing image
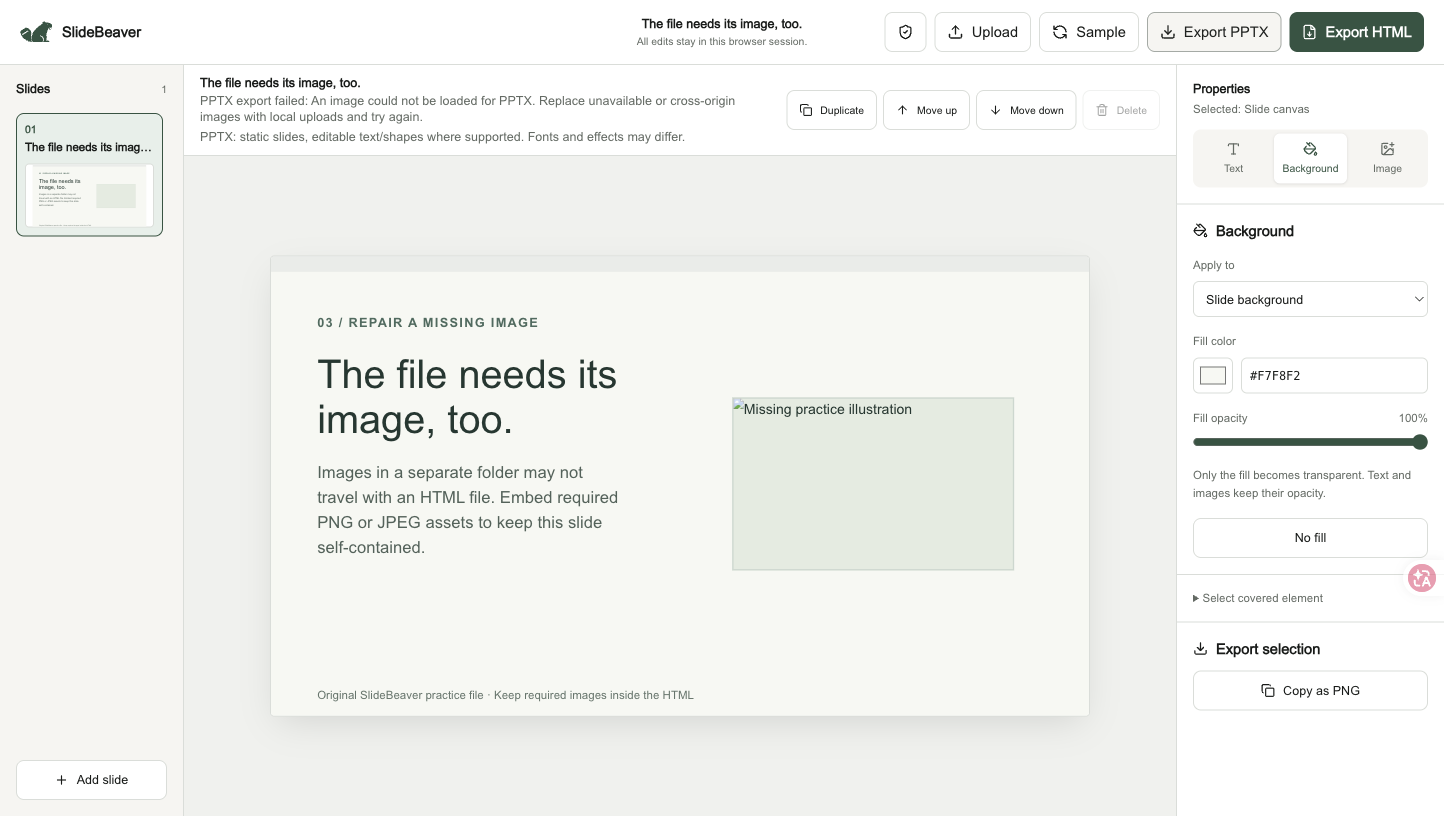
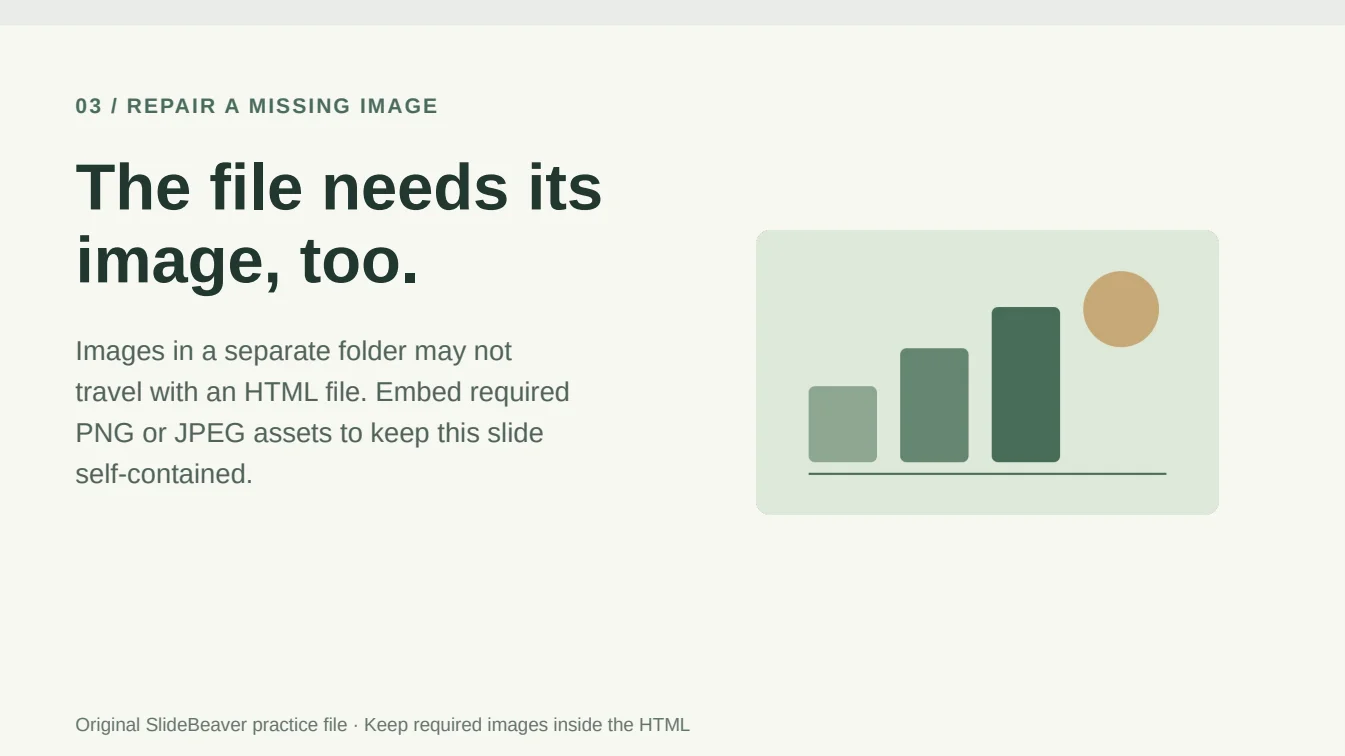
A single HTML file can still depend on a separate image. In this exercise, the image points to a file that is not included. The preview has a missing image, and PPTX export fails until the source reference is repaired.

- Save your current work, then upload missing-image-practice.html. The broken image is intentional.
- Recover the original image, or choose a replacement you can use. A missing reference cannot recreate the lost picture.
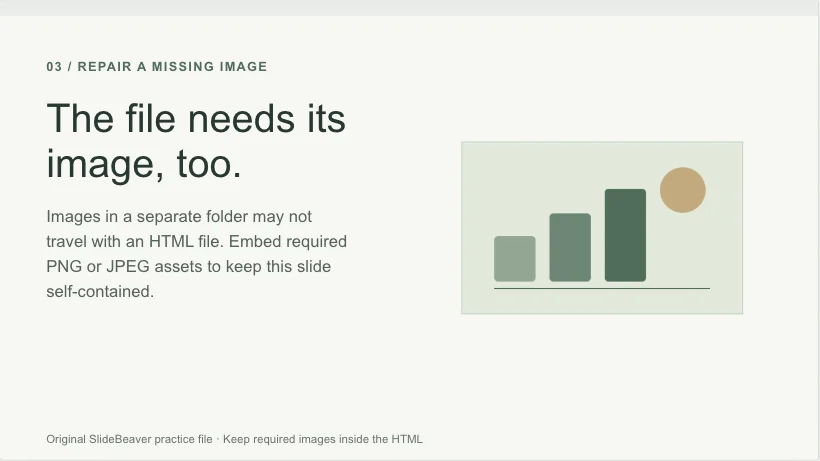
- In your source HTML or AI/code editor, replace the broken image reference with an embedded PNG or JPEG data URL. Keep its dimensions and position. For this exercise, the matching PNG is provided above.
- Save the repaired single-file HTML, upload it again, and verify the image appears. Then export PPTX again.
A request to give your AI/code editor
Attach your HTML and the actual replacement image along with this request.
Replace the broken image reference in this HTML with the attached PNG or JPEG encoded as an embedded data URL. Keep the existing image size, position, and the rest of the deck unchanged. Return one complete HTML file. Do not leave a local file path, remote URL, or placeholder in the image source.
Review the returned file and upload it to check the image. An AI-generated repair still needs this verification.
Upload image adds a new layer. The Image tab lets you insert a local image, then drag or resize it. This does not replace an existing broken image reference. Remove or repair that reference in the source first; covering it with another image can still leave export failing.
The repaired source keeps the original layout and embeds the provided PNG. Inaccessible remote images can need the same treatment, including images a server will not allow the exporter to fetch.
Save, reopen, and check the result
Edits live in the current browser session. Download your files before refreshing, closing the editor, or uploading another deck.
- Export HTML to keep an editable source copy. Open the download, browse the slides, then re-import it to confirm the changes survived.
- Export PPTX for your presentation app. Inspect all slides, including the image, title, and any text affected by font changes.
- Click inside a text box, change a word, save, and reopen the PPTX in that app. Text inside a picture is not separately editable text.
Compare with our actual exports
These files came from the exercises above. Keep the practice originals if you want to repeat the steps.
The edits and HTML re-import were checked in a Chromium browser. The PPTX previews below are rendered by LibreOffice. Microsoft PowerPoint editing and save/reopen have not been verified for these examples; use the downloads to check your target app.
If text is baked into a screenshot, a chart depends on JavaScript, or readable content cannot fit the source layout, return to the original deck or generation tool. Visual editing cannot reconstruct every missing asset or unsupported element.